Onshape App Store
Onshape makes applications available through the Onshape App Store. The App Store is actively promoted to users, making it easy for users to find, purchase, and use third-party applications.
App development workflow
To create an app that opens in the Onshape UI for internal use or testing:
- Register the app with Onshape.
- Create an extension for the app in the Onshape UI.
- Create an app store entry.
- Subscribe to the app.
- Company, Classroom, and Enterprise admins can assign internal users, aliases, and teams to apps in their Developer Settings without having to create a store entry.
See Hello World for an example.
To publish the app to the Onshape App Store for end users:
- Authenticate with OAuth2.
- Complete the Launch Checklist.
Create an app store entry
- First, create your application.
- Company/Classroom/Enterprise admins should create the app and app store entry in their Enterprise Settings.
- Users with individual accounts should create the app and app store entry in the Onshape Developer Portal.
- Click the app’s Details tab.
- Click Create store entry.
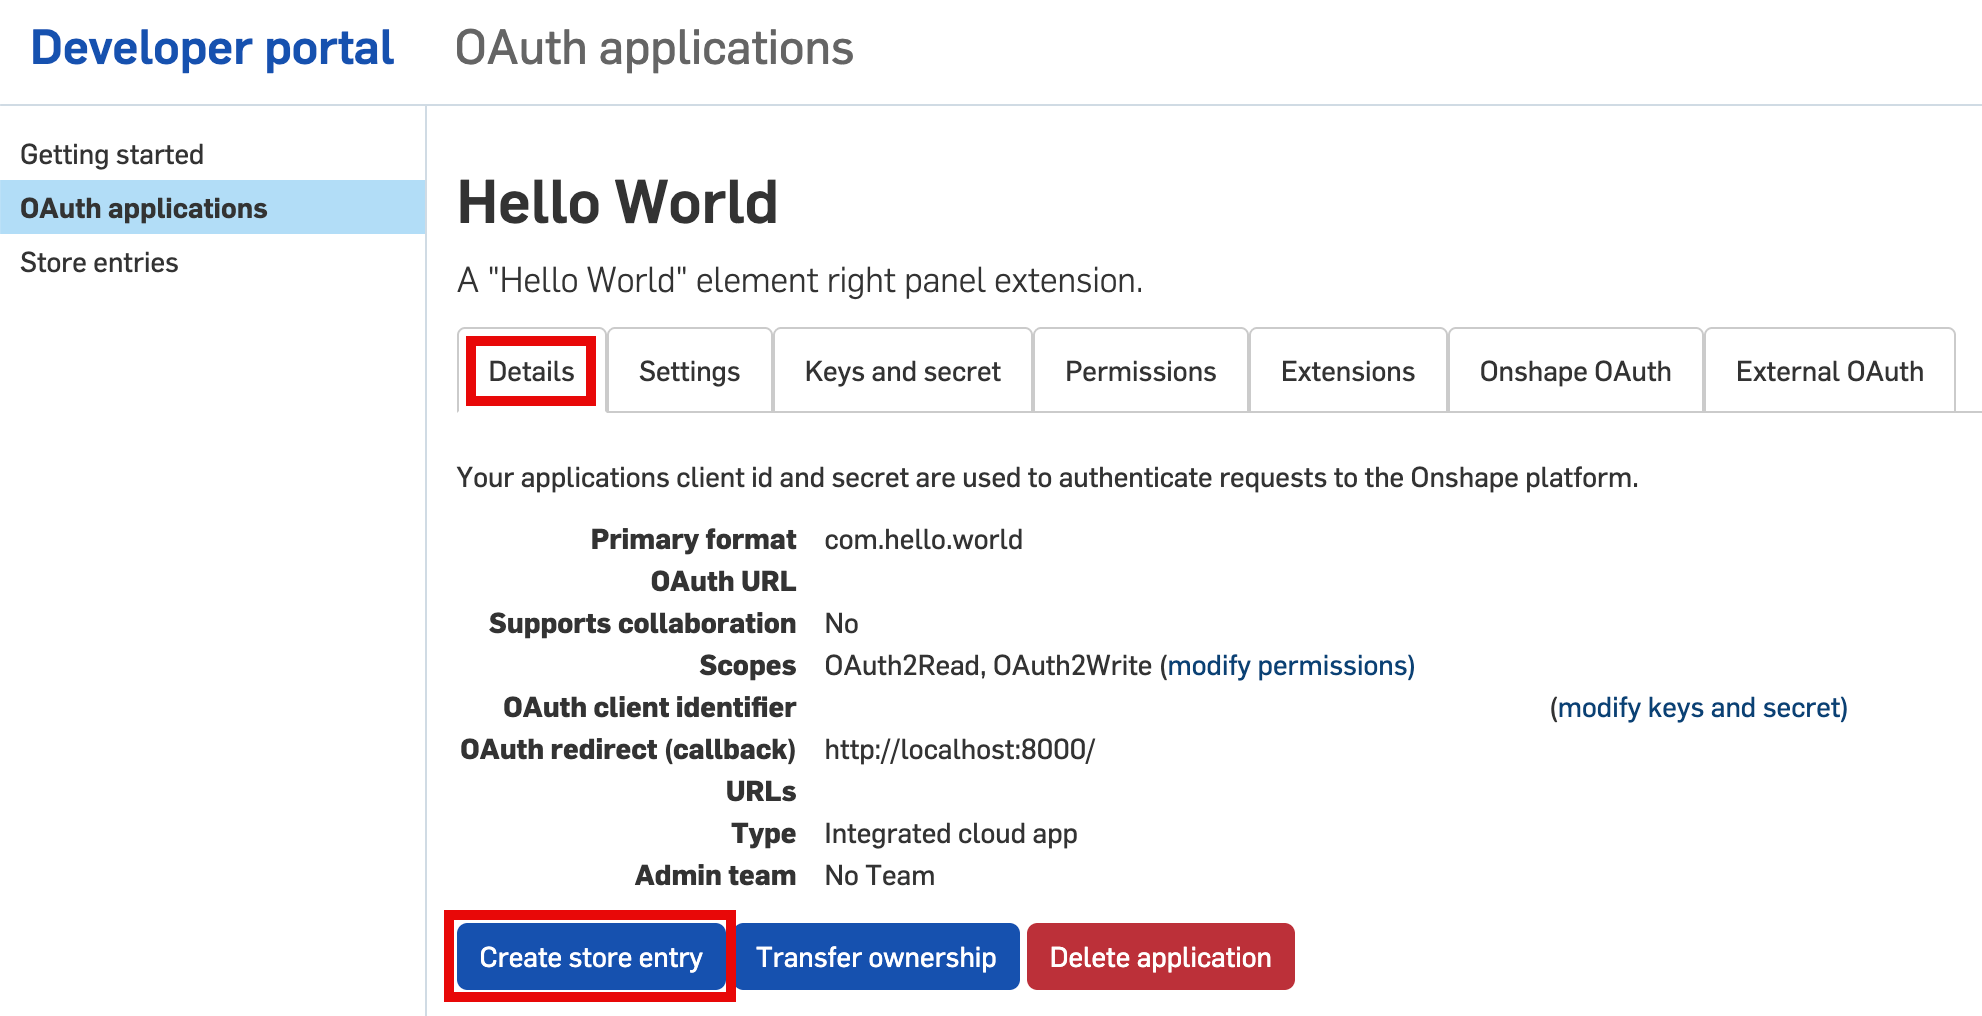
- Fill out the form:
- Name - Automatically set from the app name provided during registration.
- Summary - Automatically set from the summary provided during registration.
- Type - Application type: Integrated Cloud App, Connected Cloud App, or Connected Desktop App. This should match the Type that was selected when registering the OAuth application.
- Category - Select the appropriate category for your app.
- Team Visibility - Choose to make the private app store entry visible to no internal users (default), all internal users, or specific teams.
- Description - User-facing description of the application. Limited formatting allowed.
- Support URL - URL or email users of your app should be directed to for assistance. This must be actively monitored.
- Support Email - Email that should receive app subscription notifications. This must be actively monitored.
- Vendor - Your company name.
- Version - Current version of this application.
- Images - Optionally upload summary, hero, and other images.
- Click Create.
Subscribe to the app
ℹ️ NOTES
Company, Classroom, and Enterprise admins can assign internal users, aliases, and teams to apps in their Developer Settings without having to create a store entry.
Company, Classroom, and Enterprise admins can assign internal users, aliases, and teams to apps in their Developer Settings without having to create a store entry.
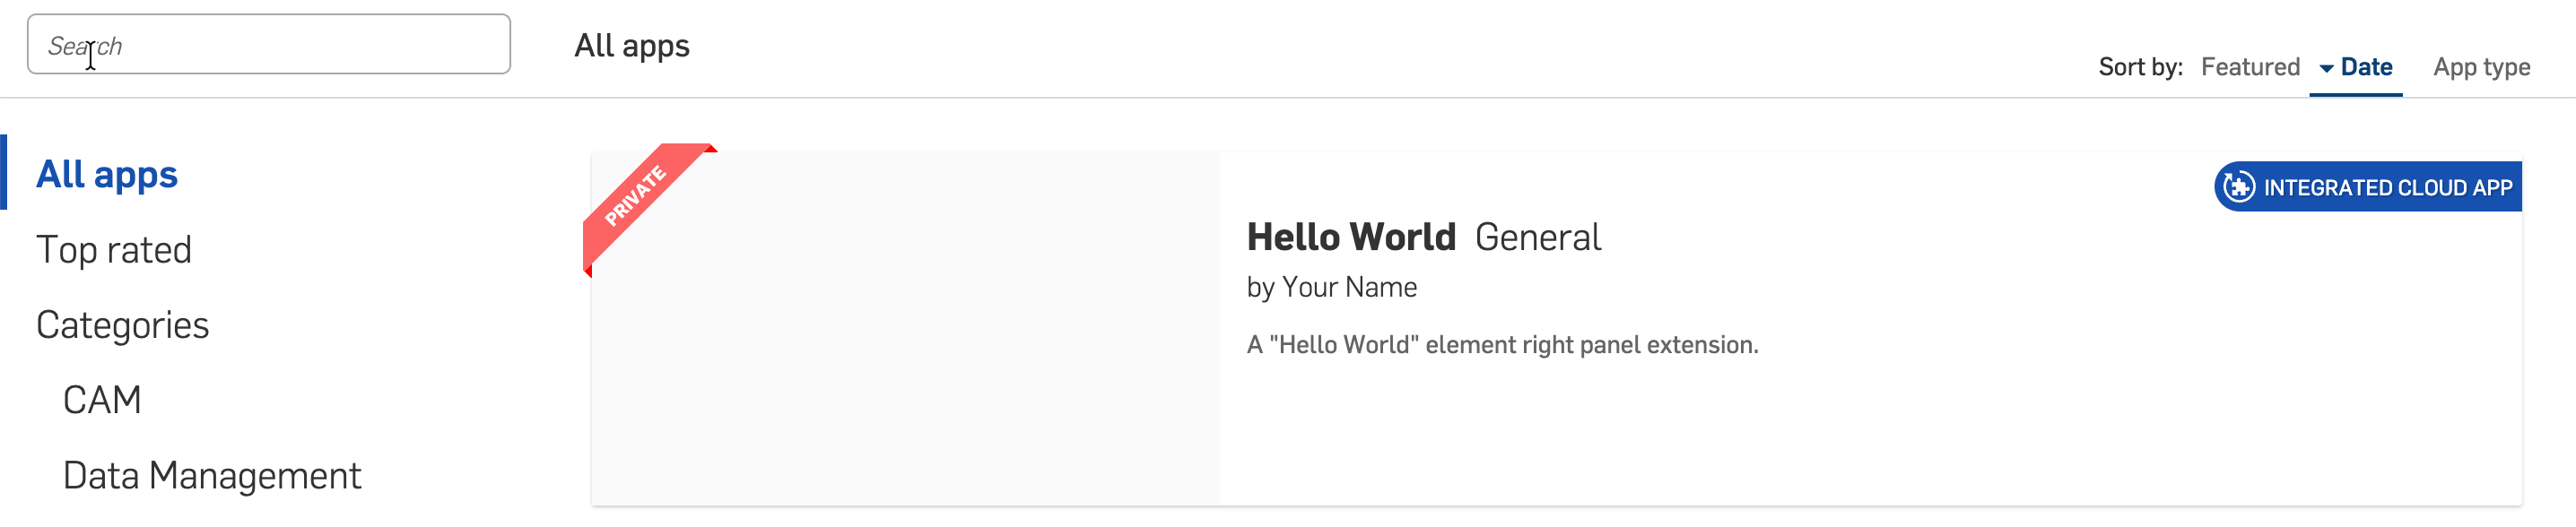
Individual account users can subscribe to the app in the App Store:
- Go to the Onshape App Store: https://cad.onshape.com/appstore?sort=date
- Select the app.
- Click Subscribe.
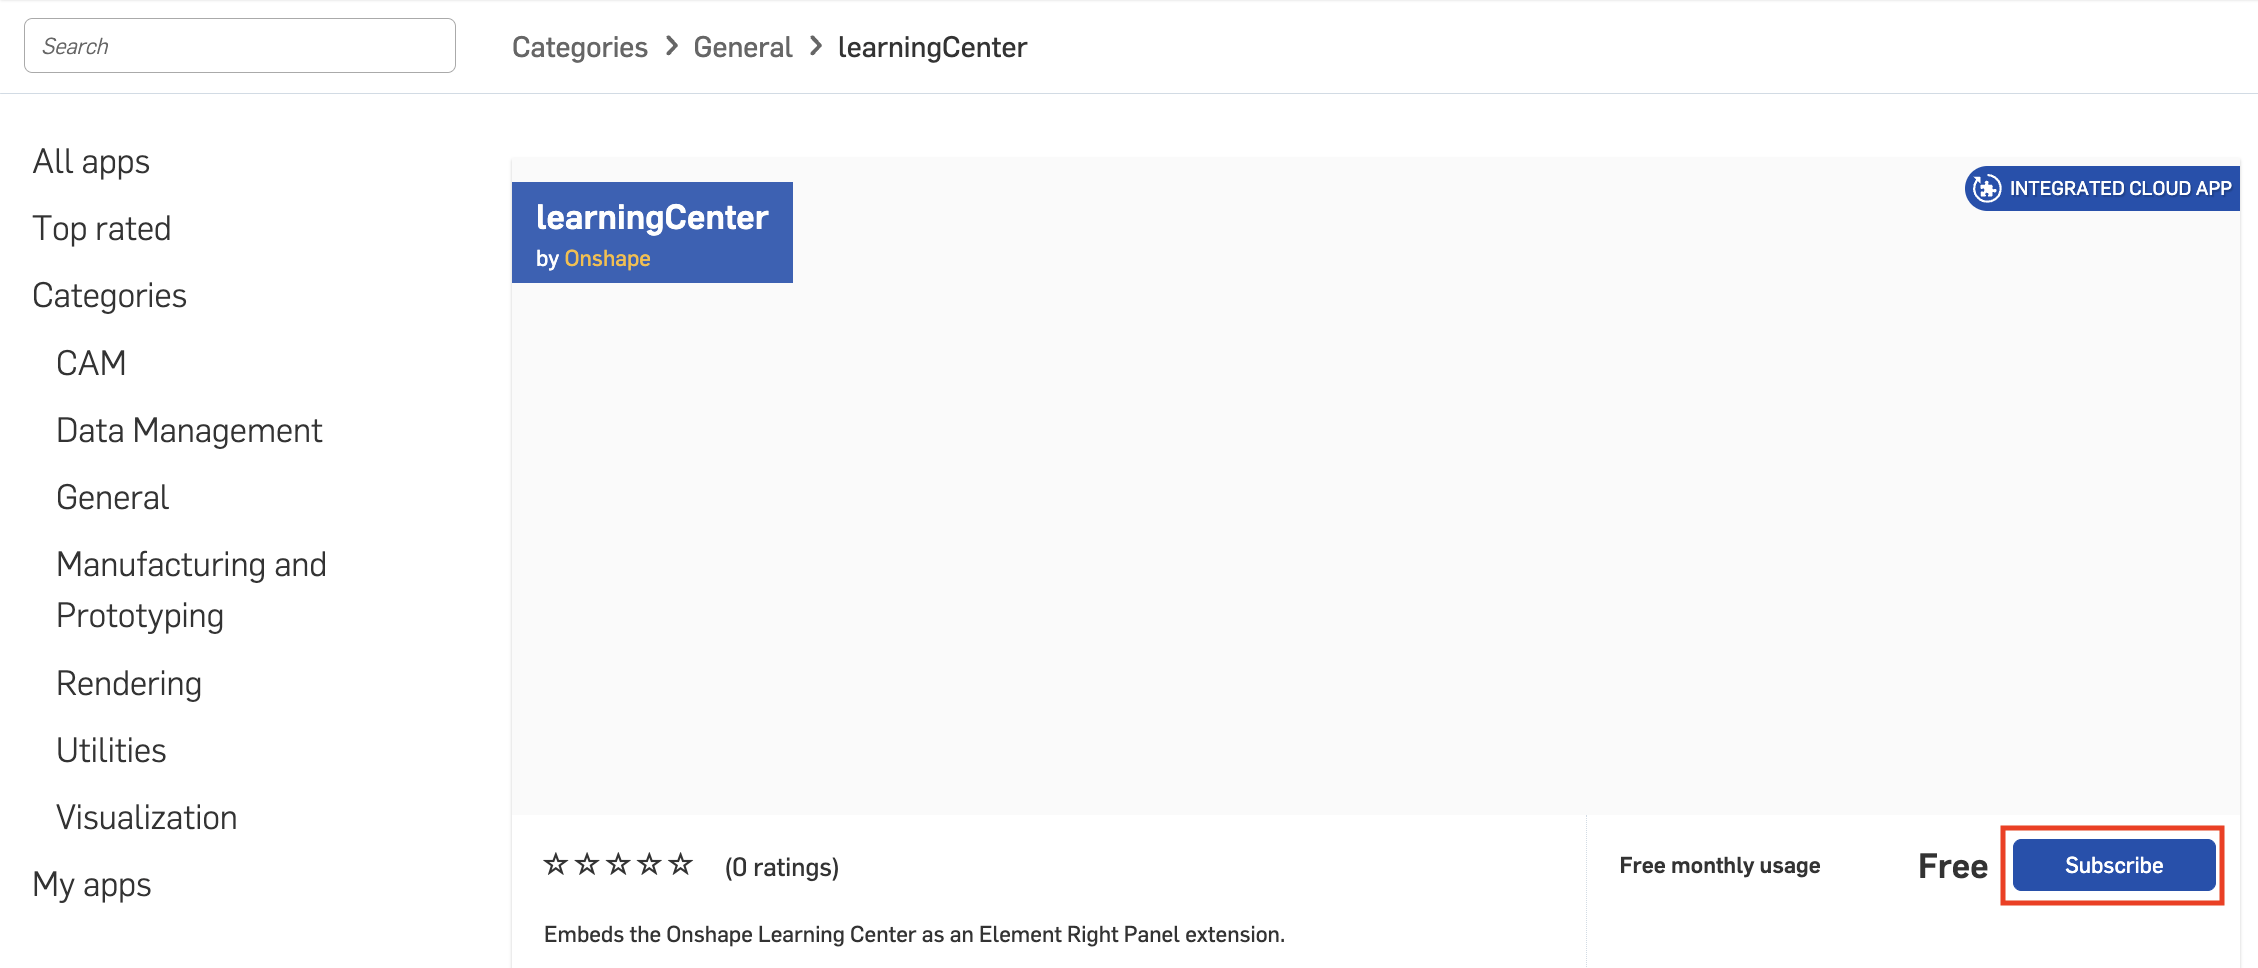
- Follow the on-screen prompts to subscribe to the app.
- Refresh your Onshape browser window to test the app extension.
Make the app public
To submit an application to the Onshape App Store, complete the Launch Checklist, which provides a step-by-step guide that you can follow to make your app public.
⚠️ WARNING
All applications must authenticate with OAuth2 to be approved in the Onshape App Store for distribution.
All applications must authenticate with OAuth2 to be approved in the Onshape App Store for distribution.
End users
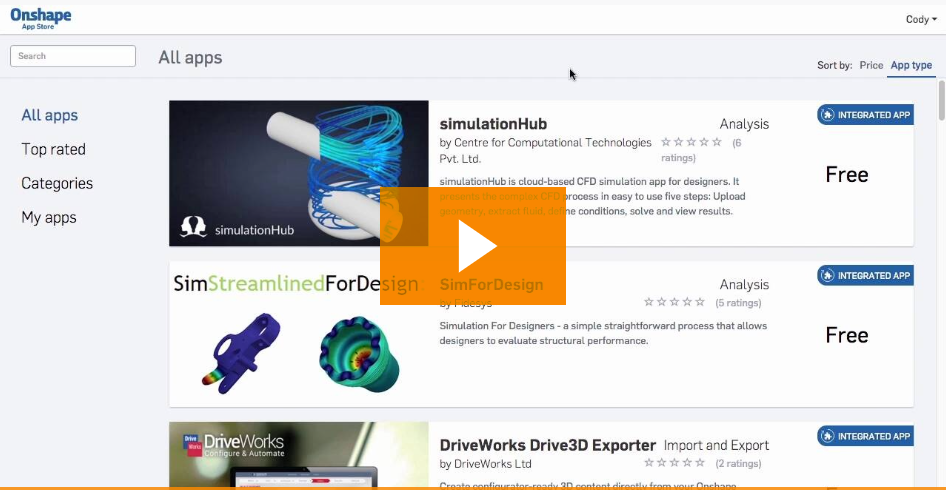
Once your app is live, users can browse the Onshape App Store and install third-party applications:
Feedback
Your comments, questions, and concerns are always welcome!
- For API support, email us at api-support@onshape.com at any time.
- For all other developer-related feedback, email us at onshape-developer-relations@ptc.com.