Create an Extension
In this example, you will create a custom web page (as shown in the image below) that is displayed in the
right-hand fly-out panel. This interface displays metadata pulled from
a third-party system when a part in Onshape is selected. This interface can also update metadata in Onshape through the Update functionality.
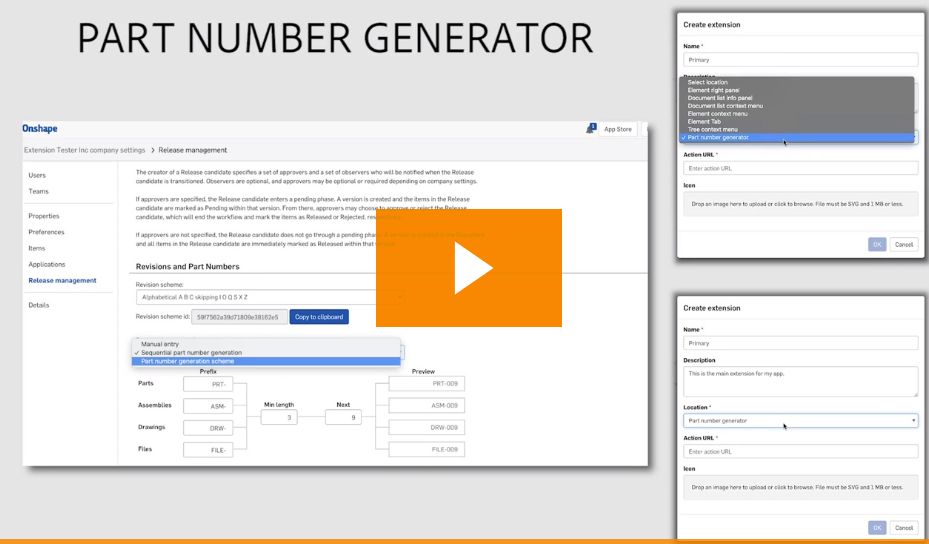
You can follow along with the steps below with this video:
Define the extension
This tutorials builds off the Generate Derivative Files tutorial. Please complete that one before starting on this one.
Navigate to the Developer portal from https://cad.onshape.com/appstore/dev-portal.
Click OAuth applications in the left menu.
Select your application, and the click the Extensions tab.
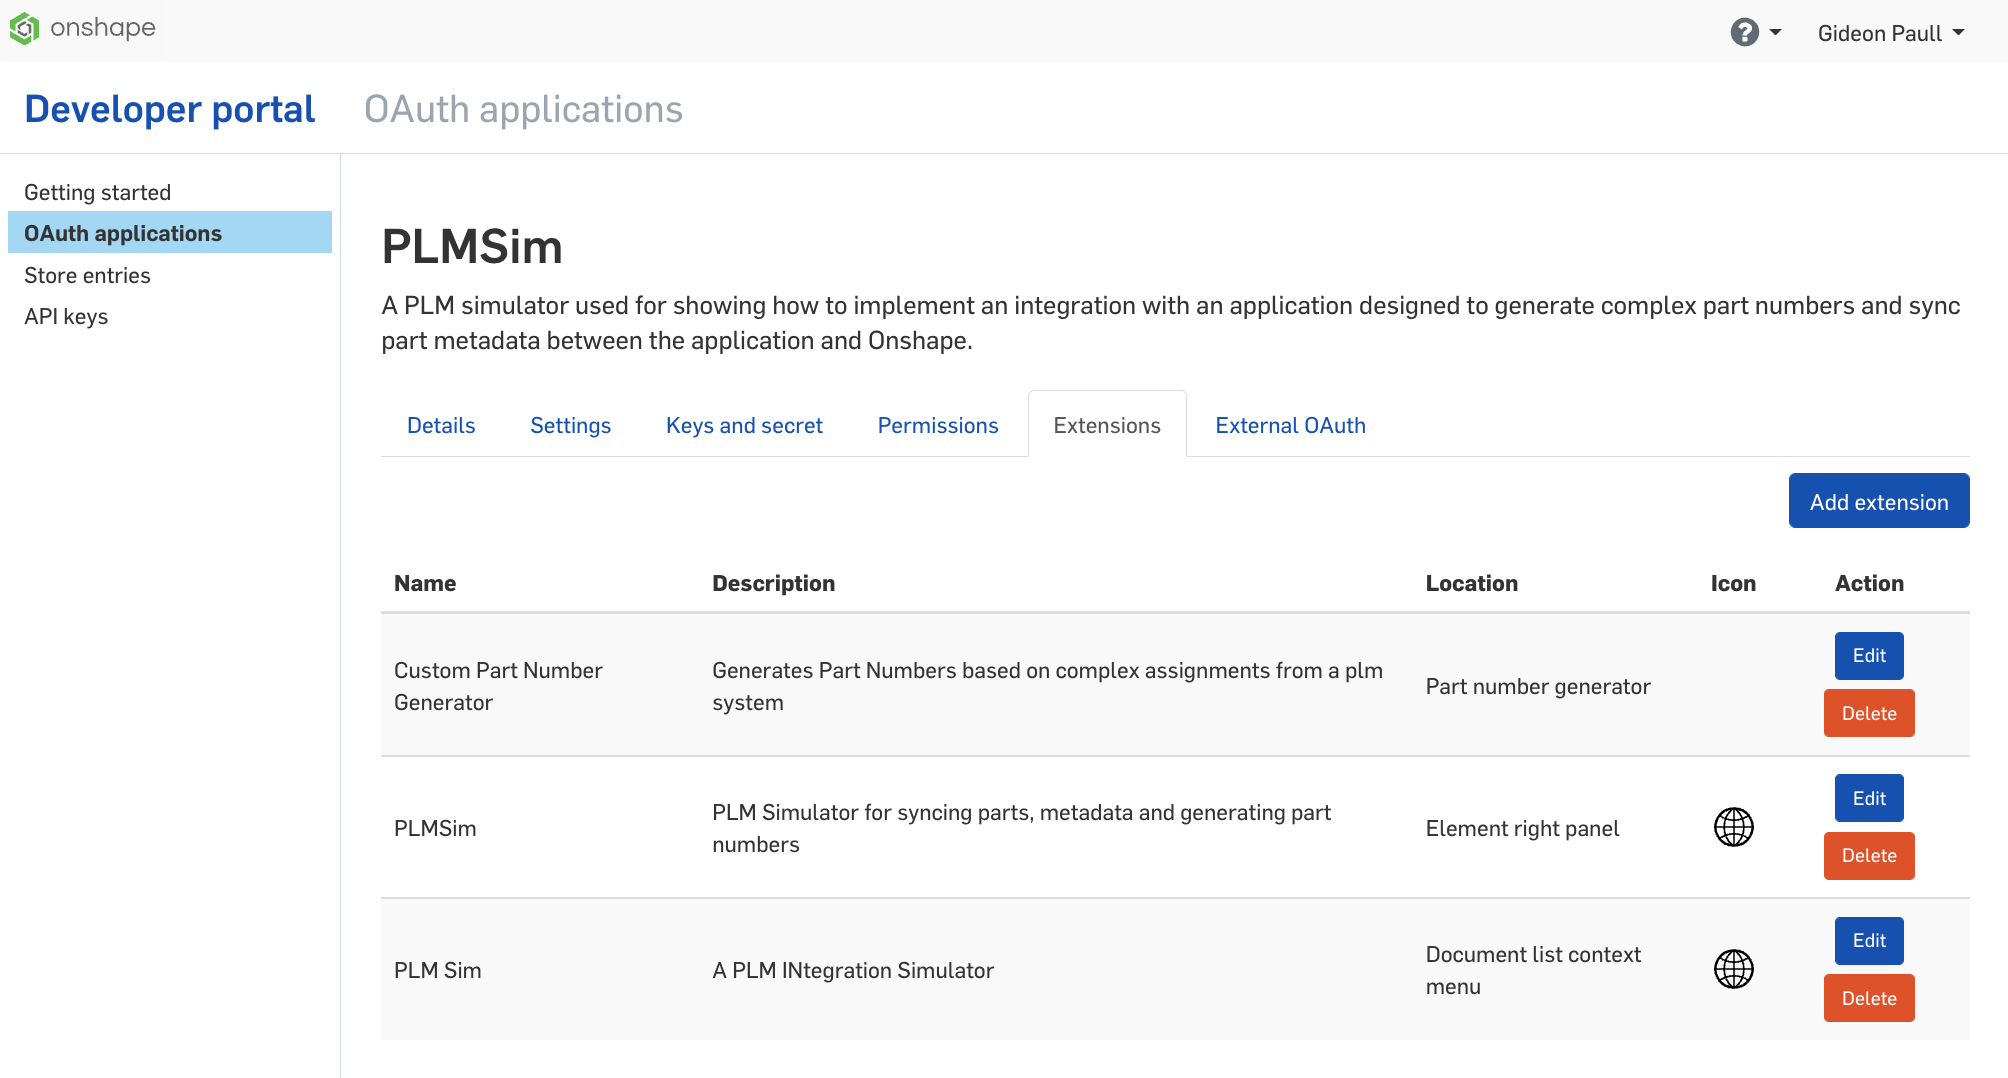
Click the Add Extension button on the top right.
Select
Element Right Panel.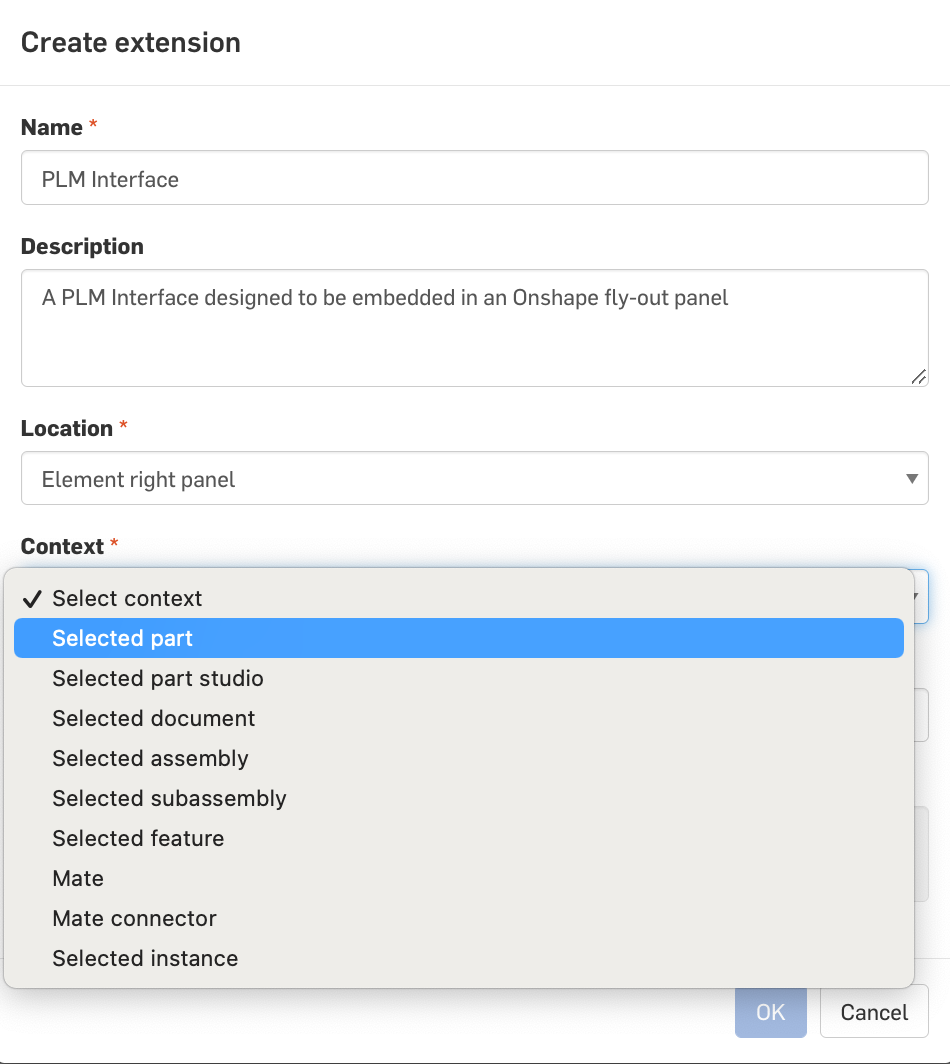
Next, define the context. The context defines what parameters can be sent from Onshape to the application. Some basic parameters are automatically sent with any context, additional information can be passed to our application, depending on the context selected. Click the
Selected partoption. This sends thepartIdandpartNumberto the application, along with thedocumentId,elementId, and theworkspaceOrVersionId.In the
Action URLfield, fill in the URL of the page to load in the right element panel. The parameters can be added as arguments (variable that get replaced with real values when the page is loaded from Onshape).https://ourserver.com/bom?documentId=${documentid}&elementId=${elementid}&partId={$partId}&partNumber={$partNumber}Finally, select an icon for the extension. This will appear on the tab that opens the right element panel.
You have now defined the extension, and it will appear in the Onshape interface.
Call a page in the extension
The following code snippet shows how to use your previous definition to pull data from the third-party application and send it to the web page:
//https://myserver.com/bom?documentId=${documentId}&elementId=${elementId}&
//partId=${partId}&partNumber=${partNumber}
app.get('/bom', (req, res) => {
  if (req.query.partNumber !== '${partNumber'}) {
    partController.getPartsList(req.query.partNumber).then((parts) => {
      catController.getCatById(parts.Category).then((cat) => {
        res.render('bomview', {
          parts: parts,
          cat: cat
        })
      })
    })
  } else {
    res.render('bomview', {
      parts: { "_id": 0 },
      cat: { "_id": 0 }
    })
  }
})
This code checks to see if the partNumber parameter was actually populated (i.e., that a part number was defined for the selected part). If defined, you can use the part number to
retrieve information about the selected part from our third-party application.
If the part number isn’t defined, you can send an alert to the web page to notify the user that a part number must be defined to use this web page.
You can also use the document ID, the element ID, and the Part ID to retrieve the correct part as long as they are stored with the part in your application.
Use the extension
In Onshape, load a document. You will see your icon embedded in the location you chose for you extension.
Select a part in a Part Studio, and click the icon to open the extension application:
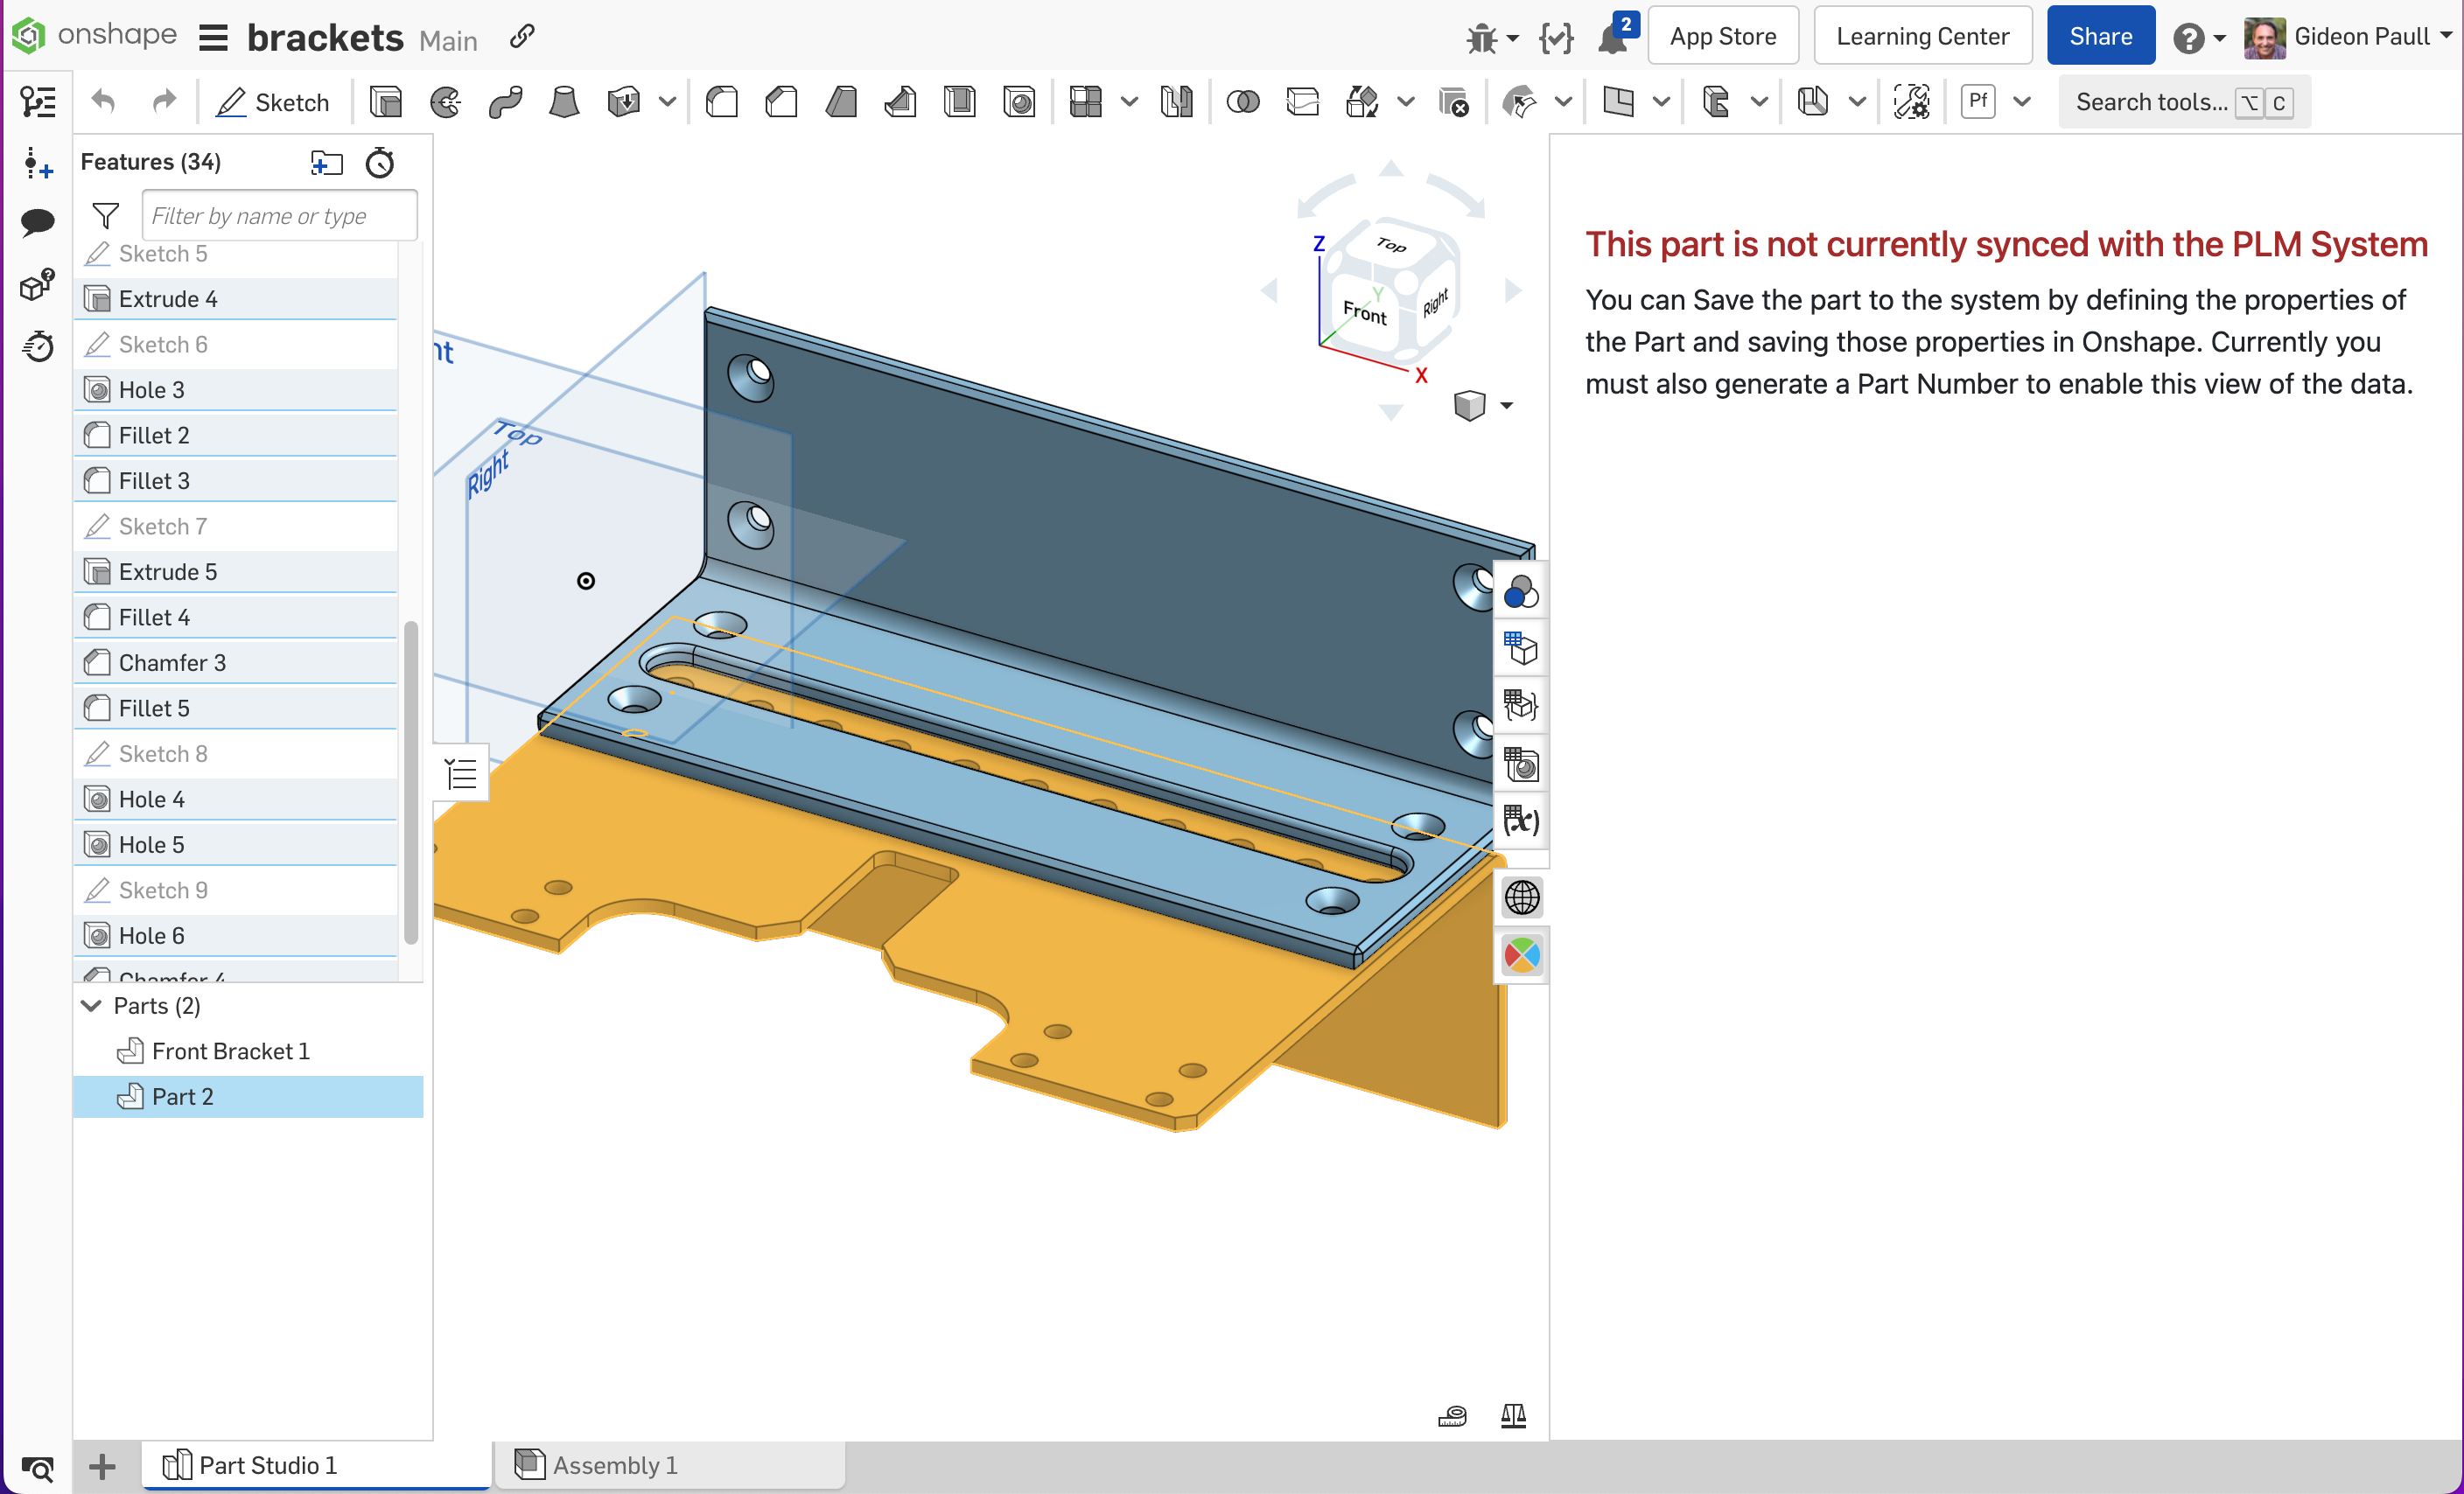
If the part you selected has not yet been synced with your third-party application, no part number has been generated, and the system can’t find a corresponding object in our database.
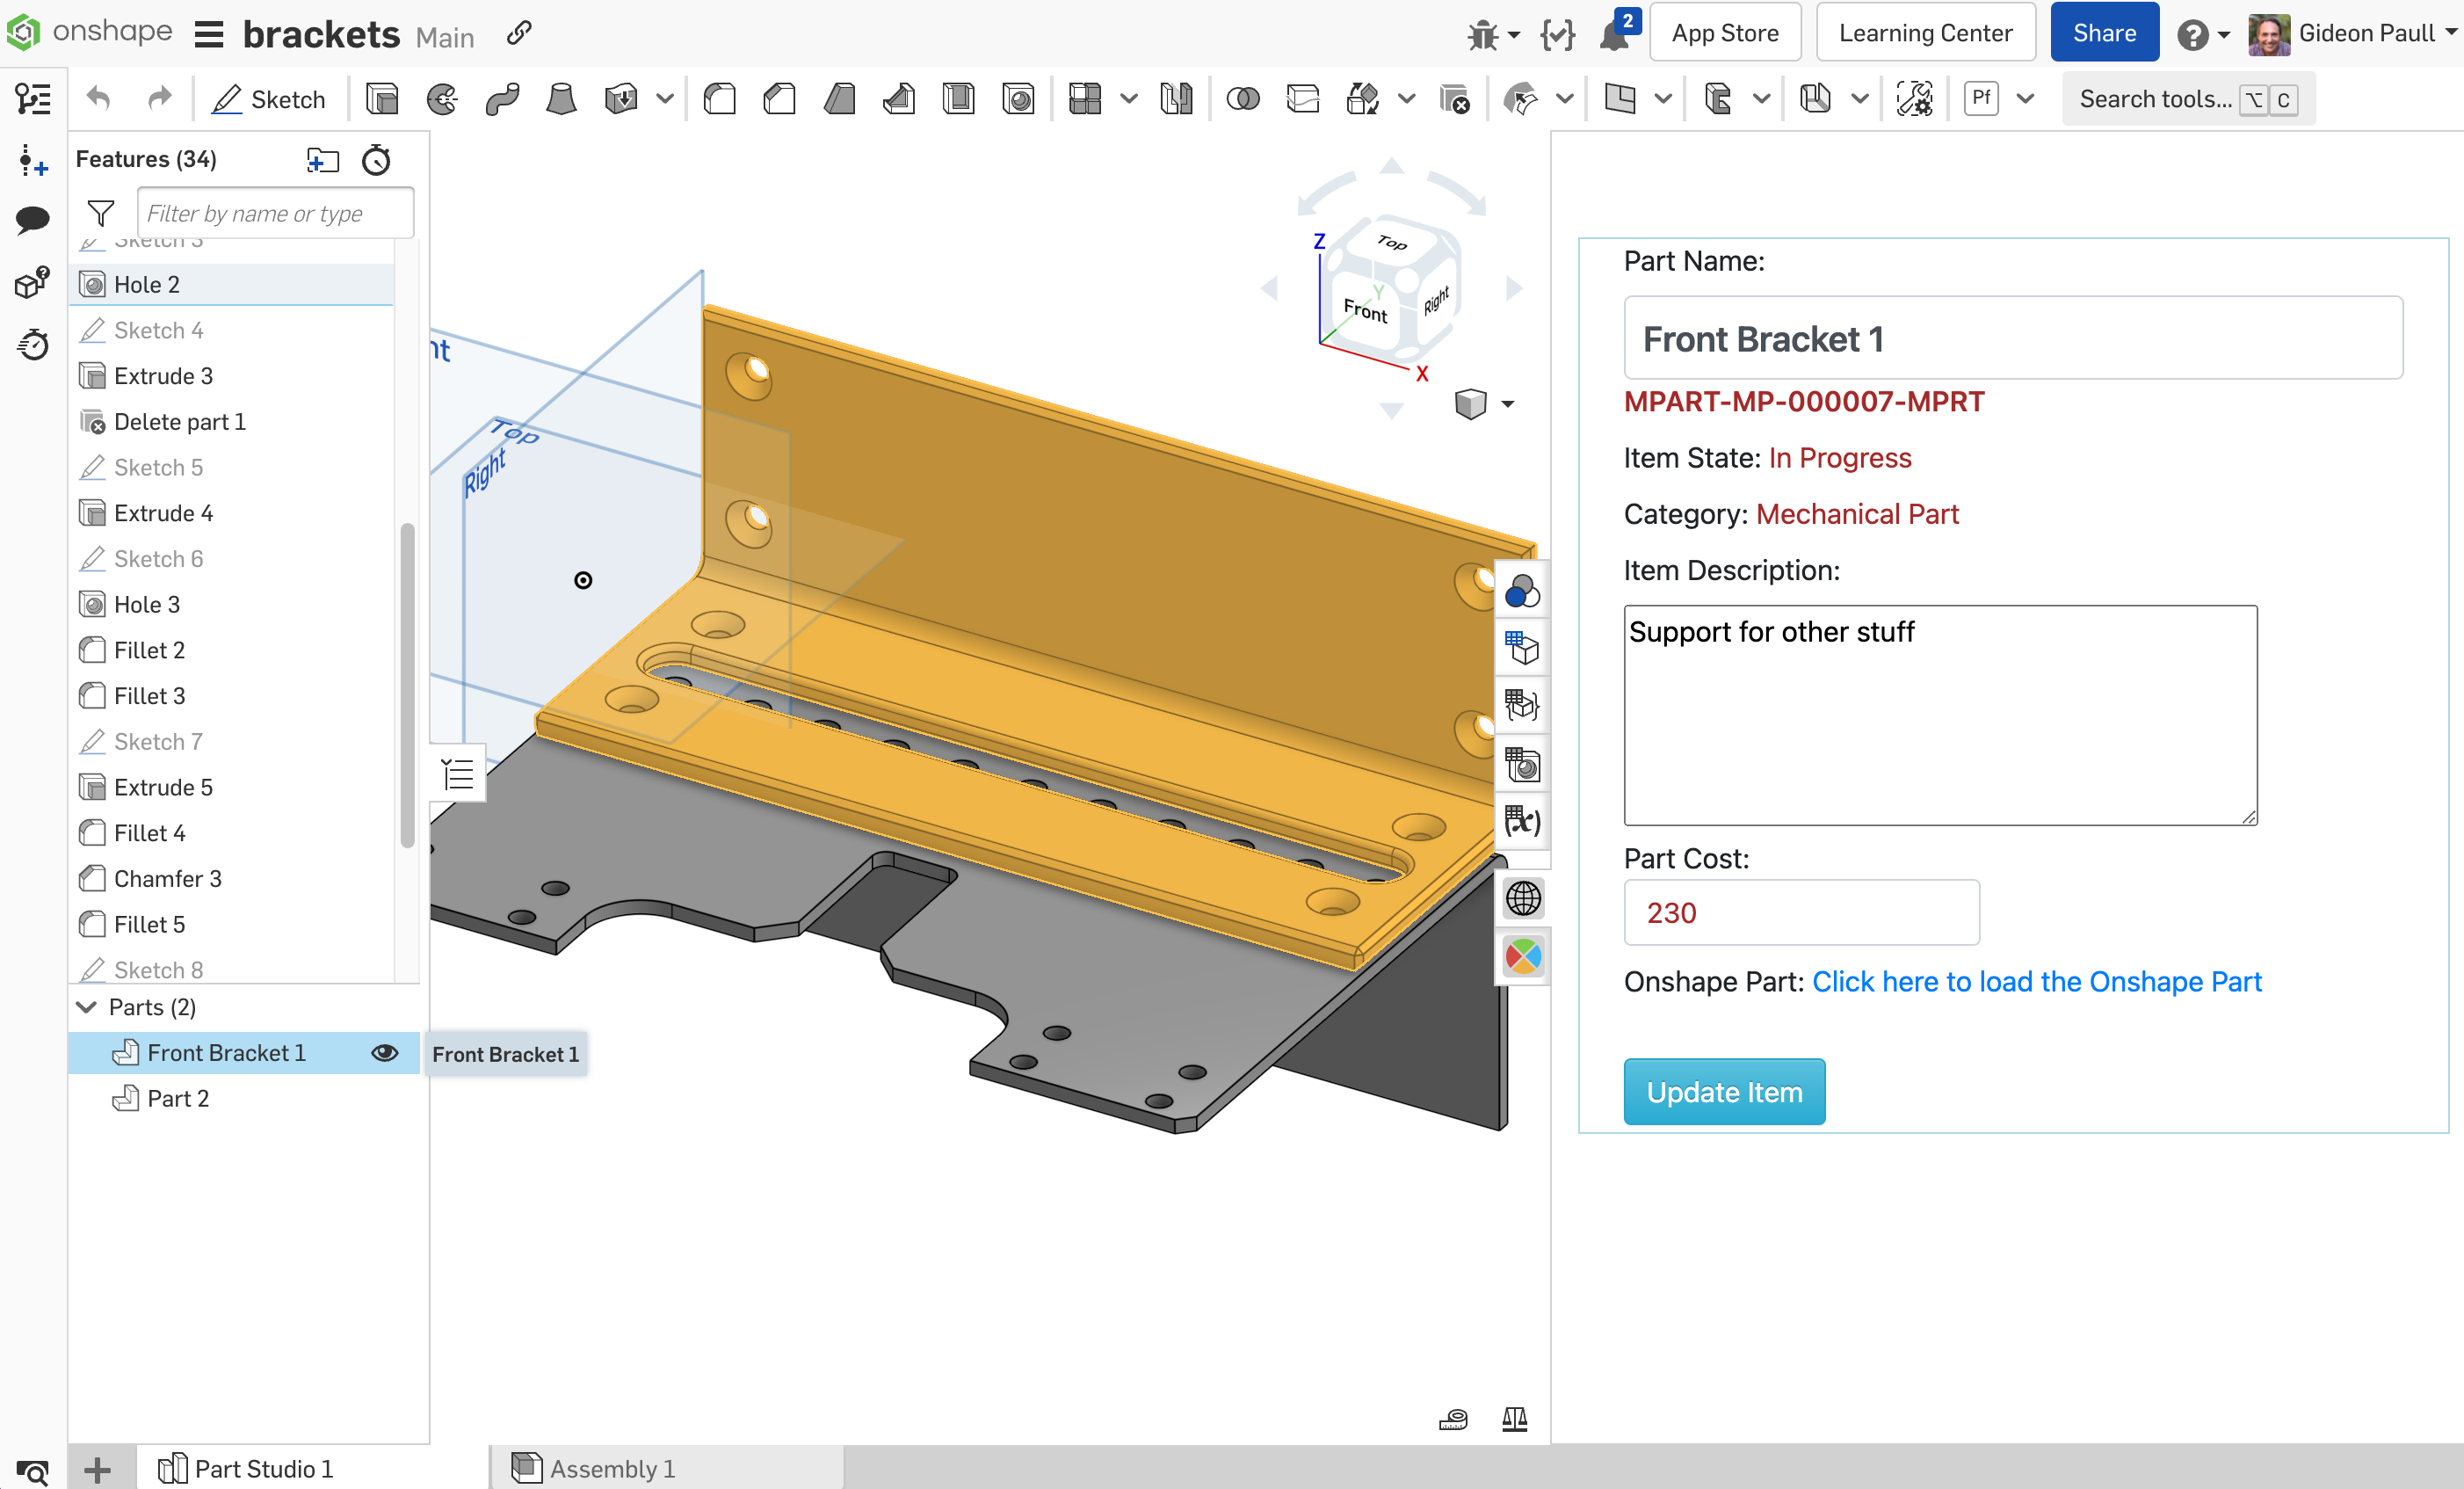
When you select a part that has been synced, and a part number has been generated, you will see the expected result:
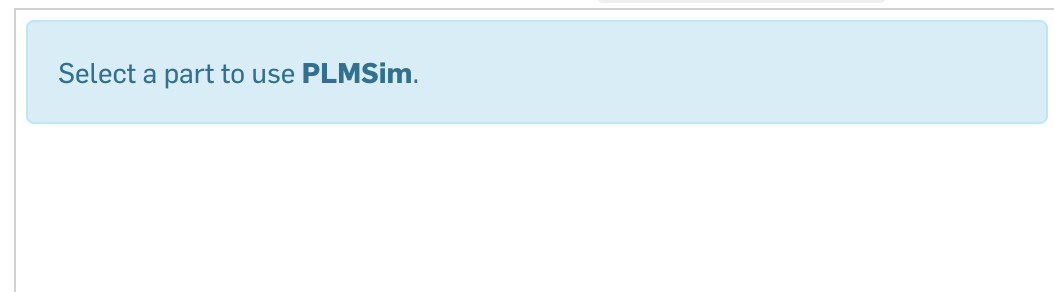
Since the context you selected for this application extension was
Selected Part, a part must be selected to load anything in the extension. If no part is selected, you will see a notification similar to the following: